
How to make salad greens last longer
If you’ve ever opened your fridge to find a bag of slimy spinach or wilted salad mix, you’re not alone.
Keeping leafy greens fresh is one of the biggest challenges for people who are trying to eat more vegetables.
The good news? With a few simple storage habits, you can make your salad greens last longer, waste less food, and actually use what you buy.
This guide walks you through exactly how I store salad greens at home and how we recommend our customers do it too.
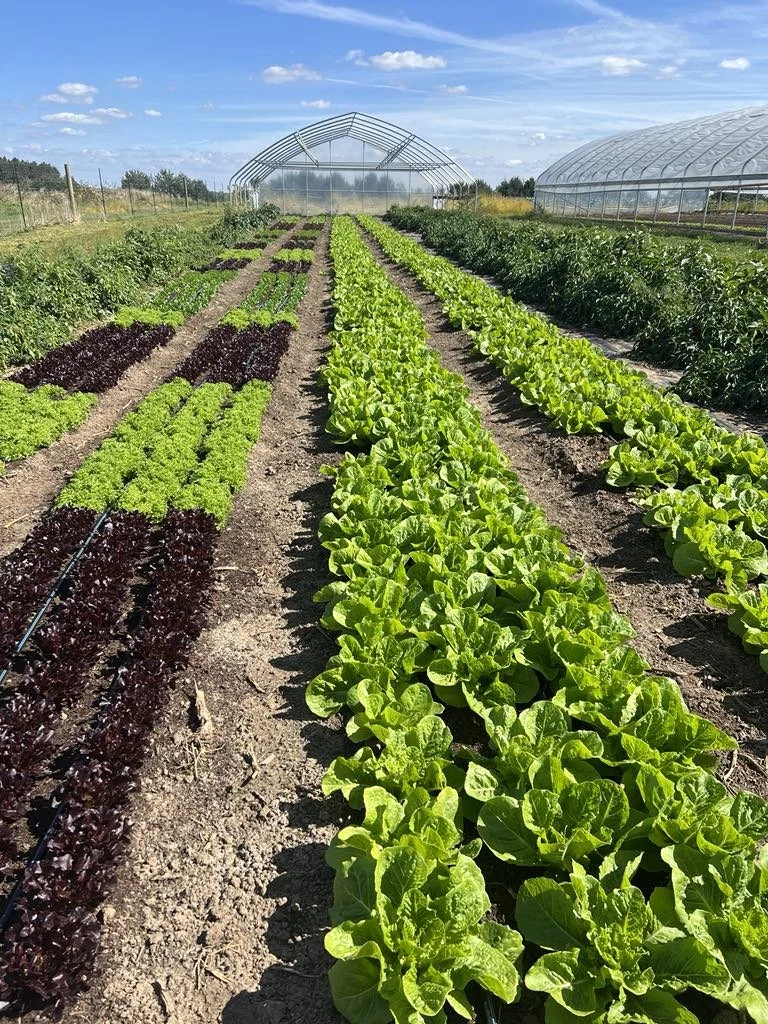
Why local greens tend to last longer
One thing we hear all the time is that our greens last longer than what people are used to from the grocery store.
That’s not an accident.
Our salad greens are:
Picked early in the morning when plants are fully hydrated
Handled gently from field to cooler
Grown in soil, not hydroponically
Reach you days if not weeks sooner than anything you’ll find at the store
All of that adds up to fresher, more resilient greens that hold up better in your fridge.
But how you store them at home matters too.
Decide how long you need your greens to last
How quickly do you usually eat your greens?
Some people purchase their greens and use them within the next few days. Others are trying to make them last until their next order arrives in about a week. Think about how you use them at home and follow these methods to make sure they hold up until you need them.
If you’ll eat them within a few days
Keep it simple.
If you plan to use your greens within 2–3 days, you don’t need a complicated system.
You can:
Leave them in the sealed bag you bought them in
Store them in the crisper drawer or near the front of the fridge
We dry our greens to the right moisture level before packing them, and keeping the bag sealed helps prevent them from drying out.
For short-term storage, this works just fine.
If you want them to last a week or more
This is where moisture management matters most.
If your greens tend to get slimy or limp before you use them, try this method.
Step 1: Transfer to a container
Move your greens into a reusable container.
Vented containers work especially well because they let excess moisture escape instead of trapping it against the leaves.
Step 2: Check the moisture level
Pick up a handful and notice how they feel.
If they feel wet or you see condensation → add a dry paper towel
If they feel dry or limp → lightly dampen a paper towel
Place the paper towel on top of the greens before closing the container.
Step 3: Aim for balance
You’re aiming for: Slightly moist, never soggy.
Too wet = slime. Too dry = wilting.
Getting this balance right can easily double how long your greens last.
Which greens do these tips work for?
This storage method works well for:
Salad mix
Spinach
Arugula
Baby kale
Other tender leafy greens
Hardy greens like kale are not as picky, but you can still use these principles to watch moisture and keep them fresh for longer.
Bonus tips for keeping greens fresh
Keep greens out of the back of the fridge
The back of most refrigerators is the coldest spot (not a good thing in this case).
Leafy greens are sensitive to freezing, which damages their cells and shortens their shelf life.
Store them:
In the crisper drawer, or
Toward the front of a shelf
Adjust as you go
Every fridge is different.
Every container behaves a little differently.
If something isn’t working, tweak it. Add a towel. Remove a towel. Loosen the lid.
There’s no “one perfect setup.” Just a system that works for your kitchen.
Greens exit strategies when time is running out
Even with good storage, sometimes life happens.
If your greens are looking tired and you know they won’t last much longer, it’s time for a backup plan.
These ideas work best for spinach, arugula, baby kale, and other tender greens.
Add them to hot meals
Toss tired greens into:
Stir fries
Soups
Pasta
White bean dishes
Grain bowls
Add them near the end of cooking.
Kale can handle more heat. Arugula does best stirred in after you turn off the burner.
Make a simple green pesto
Blend greens with:
Olive oil
Nuts or seeds
Parmesan
Garlic
Pesto freezes beautifully and gives you an easy future meal shortcut.
Freeze for later
You can also:
Blanch greens briefly
Squeeze out moisture
Freeze in ice cube trays
Drop the cubes into soups or sauces later for an easy nutrient boost.
Make it easy to use what you buy
Long-lasting local produce gives you time and flexibility.
You don’t need a perfect system, though.
Here’s what I recommend:
Buy an amount you know you can realistically use
Shop for greens in small quantities, more frequently until you learn your rhythm
Store them with moisture in mind
And, if all else fails, know your favorite “exit strategies” for busy weeks.
Knowing one or two reliable ways to use a full bag at once — like our one-pan salmon with lemon orzo and seasonal greens — makes it much easier to avoid waste when life gets busy.
When you combine good storage with flexible recipes and realistic shopping habits, greens stop feeling stressful and start feeling easy.